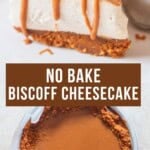
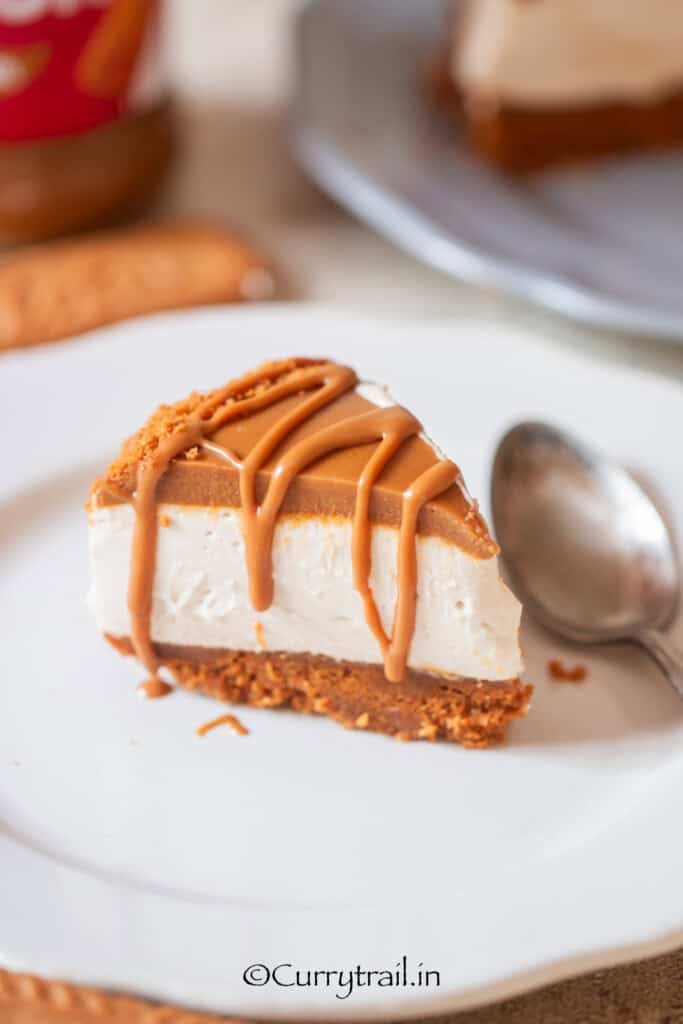
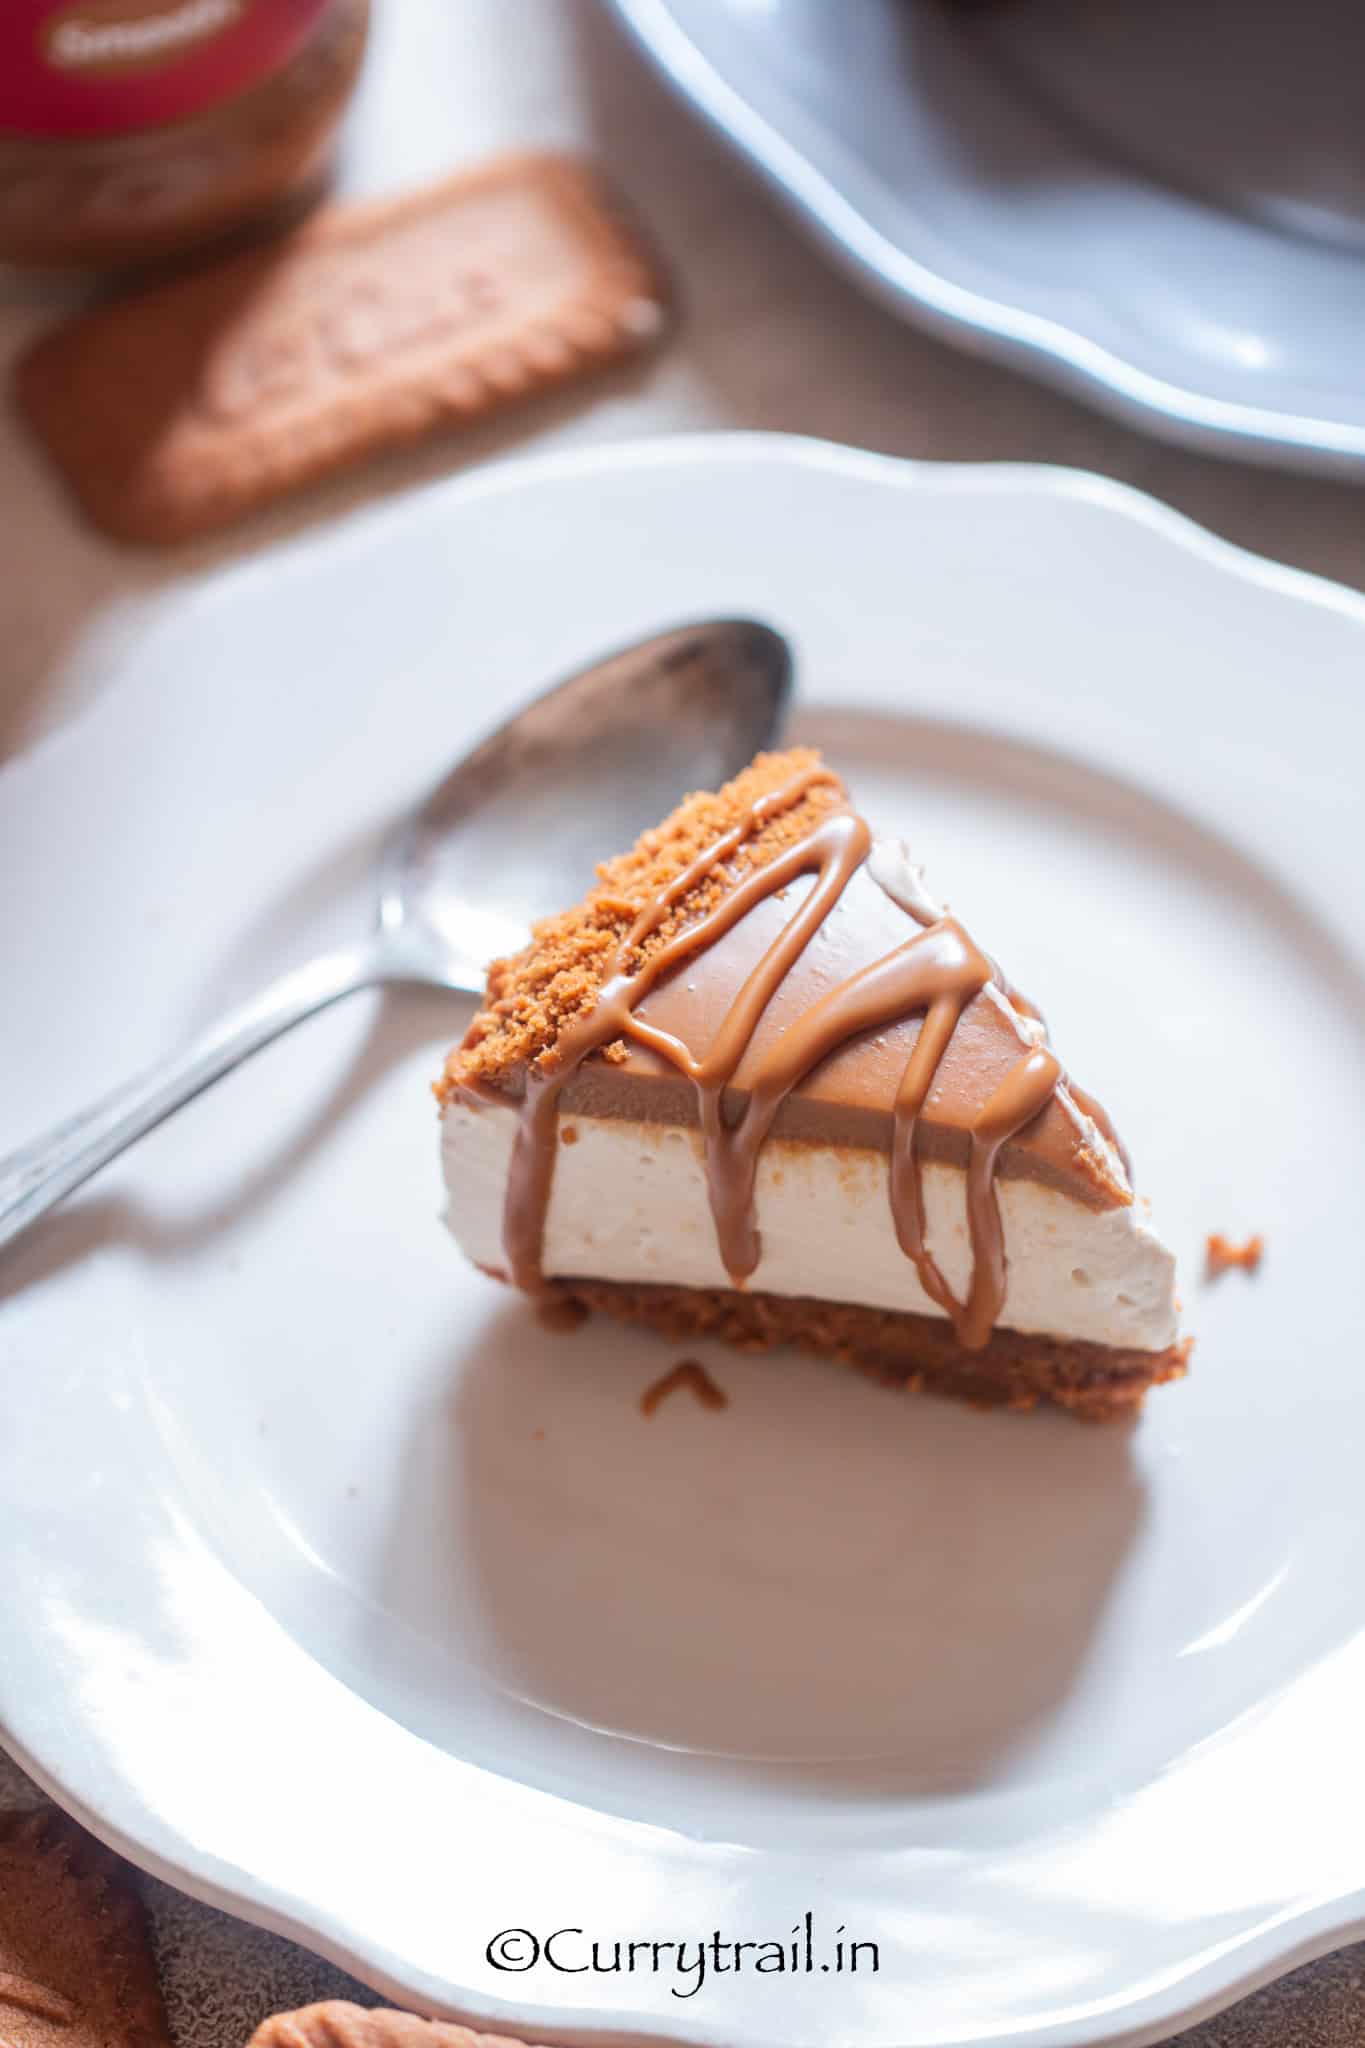
This no-bake biscoff cheesecake recipe has a buttery Biscoff biscuit base, a smooth and creamy Biscoff cheesecake filling, and an extra layer of Biscoff spread on top. The best part is that you don’t need an oven, and there’s no added sugar in the filling.
This cheesecake is rich and creamy without being overly complicated. Just mix, chill, and you’re ready to enjoy a delicious homemade dessert.
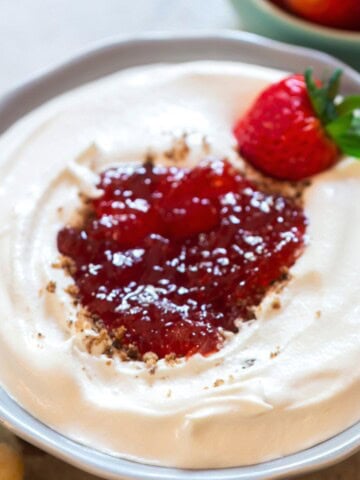
Here’s an easy cheesecake dip that has all goodness of cheesecake without have to bake or assemble. And this creamy whipped ricotta with hot honey makes a great party dip.
Jump to:
Why You’ll Love This No-Bake Cheesecake
There are plenty of reasons to keep this recipe in your dessert collection:
- No oven required: Perfect when you want an easy dessert without baking.
- Simple ingredients: You only need a handful of everyday ingredients.
- Creamy and delicious: The filling has a rich, smooth texture.
- Easy to prepare: There’s no complicated baking technique involved.
- Make-ahead friendly: It needs time to chill, so you can prepare it in advance.
- Easy to customize: Add fresh fruit, chocolate, caramel, or your favorite topping.
Ingredients
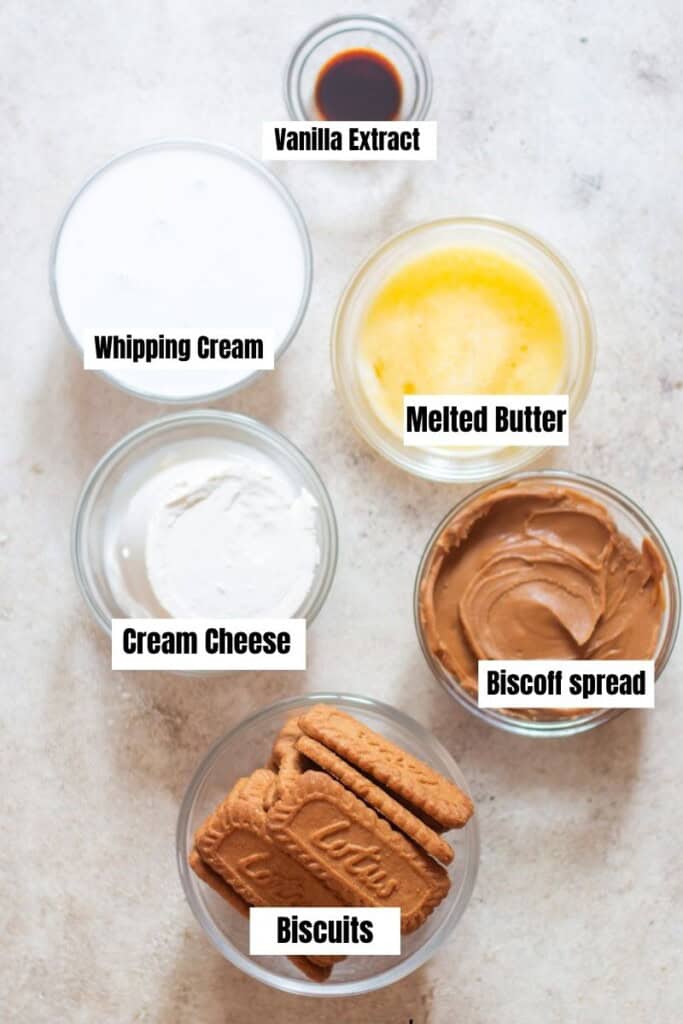
Biscuits
Biscoff biscuits make the buttery, crunchy base of the cheesecake. They have a warm caramelized flavor with hints of cinnamon and spices, which gives the cheesecake its signature Biscoff taste.
Melted Butter
Melted butter binds the biscuit crumbs together and helps create a firm, buttery crust that holds its shape when sliced.
Cream Cheese
Cream cheese is the main ingredient in the filling. It gives the cheesecake its rich, creamy texture and classic tangy flavor. Allow it to soften at room temperature before staring the recipe.
Heavy Whipping Cream
Whipped cream makes the cheesecake filling light, airy, and silky smooth. It also helps give the no-bake cheesecake enough structure to hold its shape once chilled.
Biscoff Spread
Biscoff spread is the star ingredient in this cheesecake. It adds the deep caramelized biscuit flavor that makes this dessert so irresistible. It also adds sweetness, so there’s no need for extra sugar in the filling.
Vanilla Extract
Vanilla adds a warm, sweet aroma and brings out the flavor of the other ingredients.
Lemon Juice
Lemon juice adds a subtle tang that cuts through the richness of the cream cheese and Biscoff spread. It keeps the cheesecake from tasting overly sweet or heavy. Not shown in photo and video, i did add lemon juice later.
Topping
Extra Biscoff Spread for Topping
A little melted Biscoff spread on top adds an extra layer of that delicious caramelized biscuit flavor. It also gives the cheesecake a smooth, glossy finish.
Crushed Biscoff Biscuits for Decoration
A sprinkle of crushed Biscoff biscuits adds a little crunch and makes the cheesecake look extra inviting. You can also add a few whole biscuits on top for an easy finishing touch.
Other topping suggestions
You can keep the cheesecake simple or decorate it with your favorite toppings. Some easy options are:
- Fresh strawberries or blueberries
- Strawberry sauce or raspberry sauce
- Chocolate shavings
- Caramel sauce
- Fresh mango
Step-By-Step Instructions
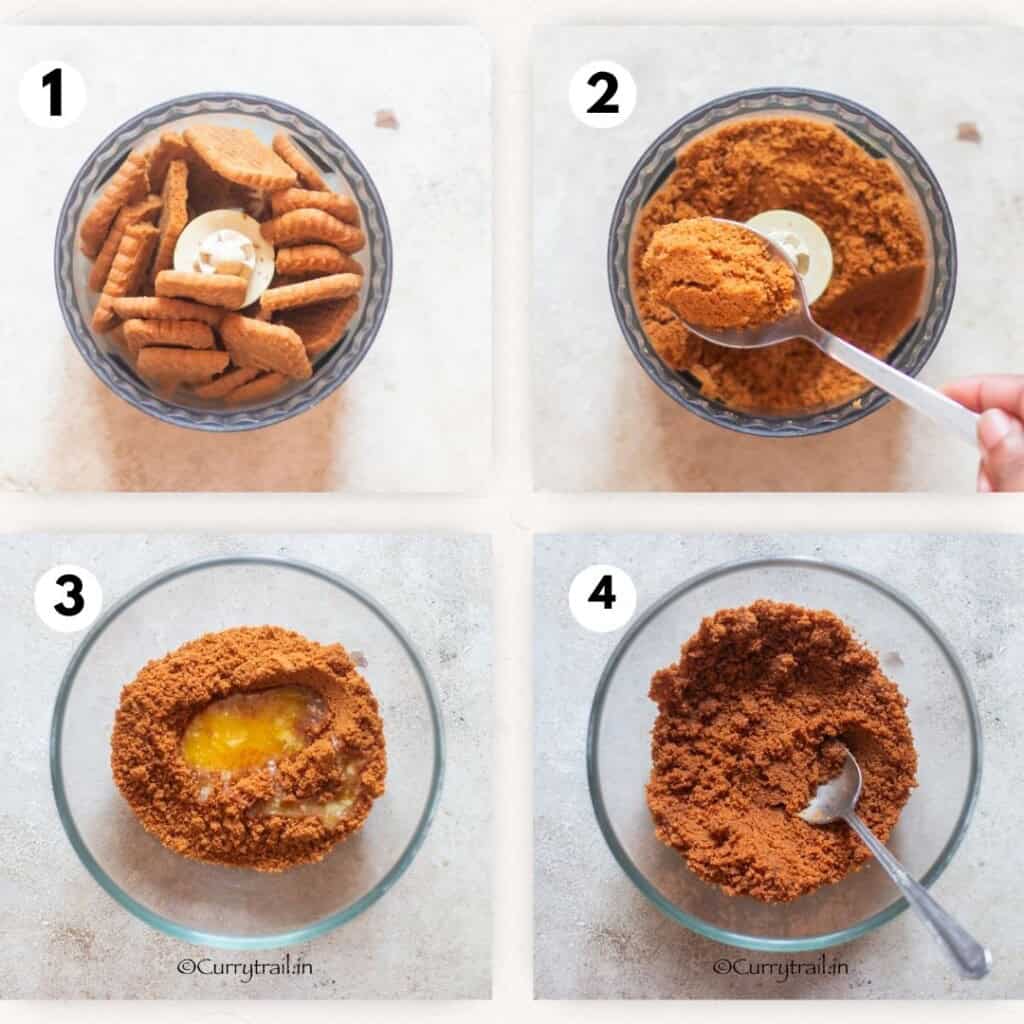
Step 1 & 2: Crush the digestive biscuits into fine crumbs. You can use a food processor or place the biscuits in a zip-top bag and crush them with a rolling pin.
Step 3 & 4: Add the melted butter and mix until the crumbs look evenly coated.
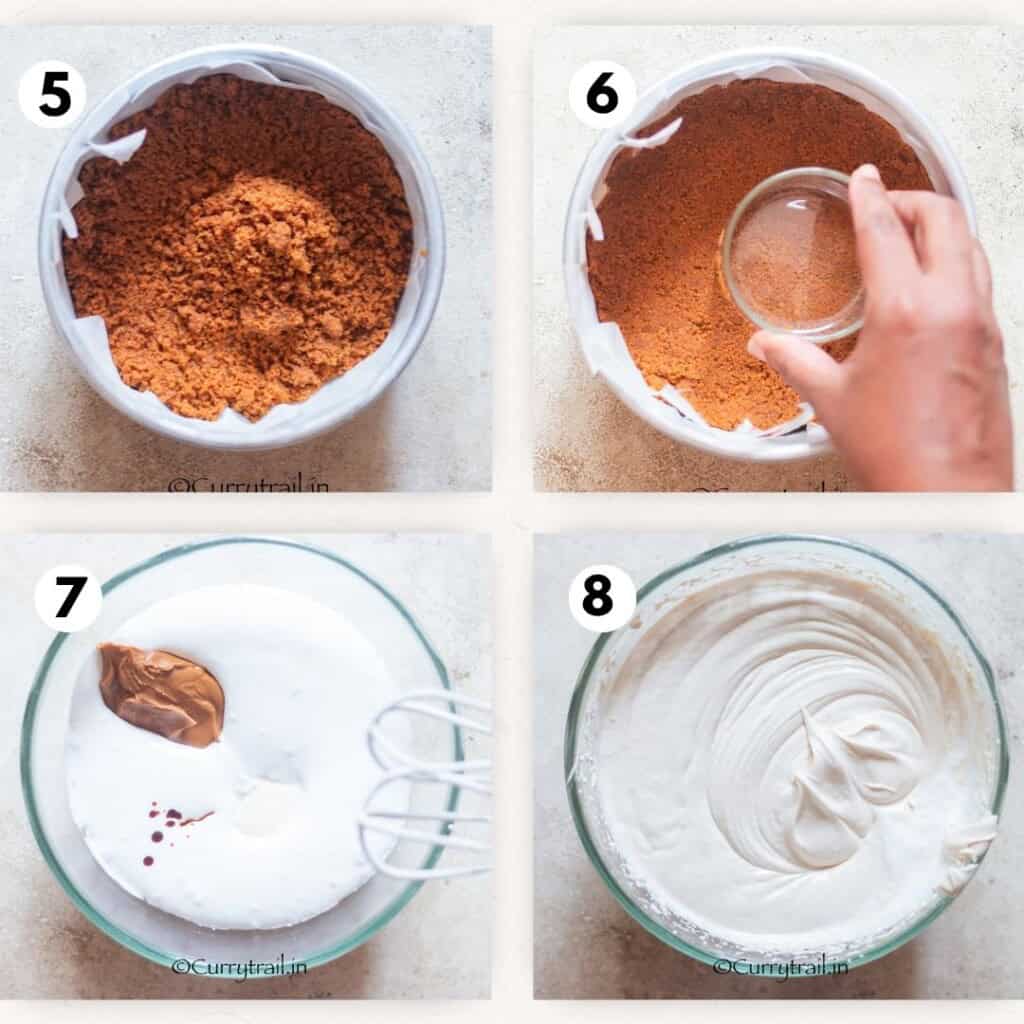
Step 5: Pour the mixture into a lined 8-inch springform pan.
Step 6: Press it down firmly with the back of a spoon or the bottom of a glass. Place the crust in the refrigerator while you prepare the filling.
Step 7: Add chilled heavy whipping cream to a bowl and beat until its smooth and have stiff peaks. Add the softened cream cheese to the bowl. Add the Biscoff spread, vanilla extract, and lemon juice.
Step 8: Beat it until smooth and creamy. Mix until everything is well combined and smooth.
Note – you can whip everything in one bowl or whip them separately. Whip heavy whipping cream until stiff peaks, and whip cream cheese and biscoff spread with vanilla extract until smooth in another bowl. Then add whipped cream to cream cheese mix and fold. Don’t overmix.
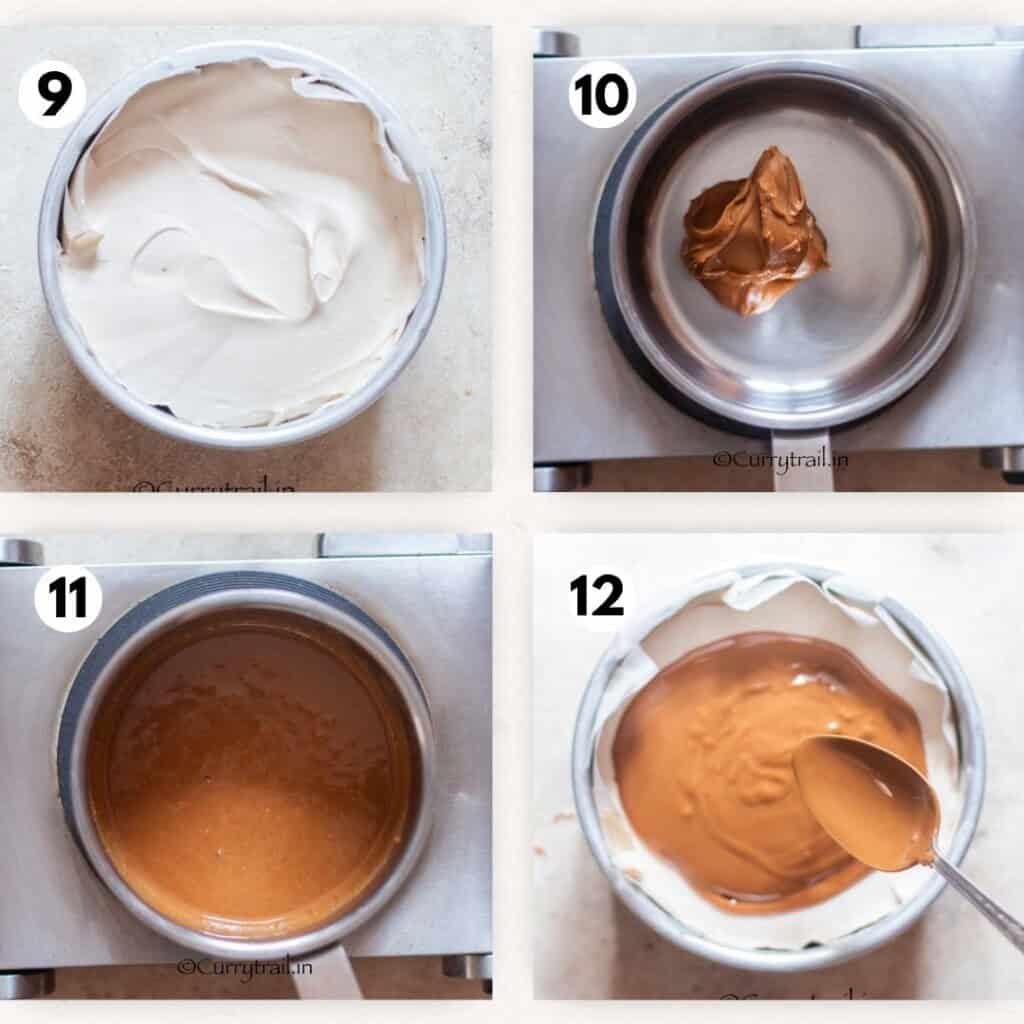
Step 9: Take the chilled biscuit base out of the refrigerator. Spoon the Biscoff cheesecake filling over the base. Use a spatula to spread the filling evenly and smooth the top. Give the pan a gentle tap on the counter to remove any large air bubbles.
Cover the cheesecake and place it in the refrigerator for at least 3 hours or upto 6 hours. For the best texture, I recommend leaving it in the refrigerator overnight. Don’t skip this step. The cheesecake needs enough chilling time to become firm and easy to slice.
Step 10 & 11: Once the cheesecake has completely set, carefully remove it from the springform pan. Warm a little Biscoff spread until it becomes smooth and pourable. Don’t make it too hot.
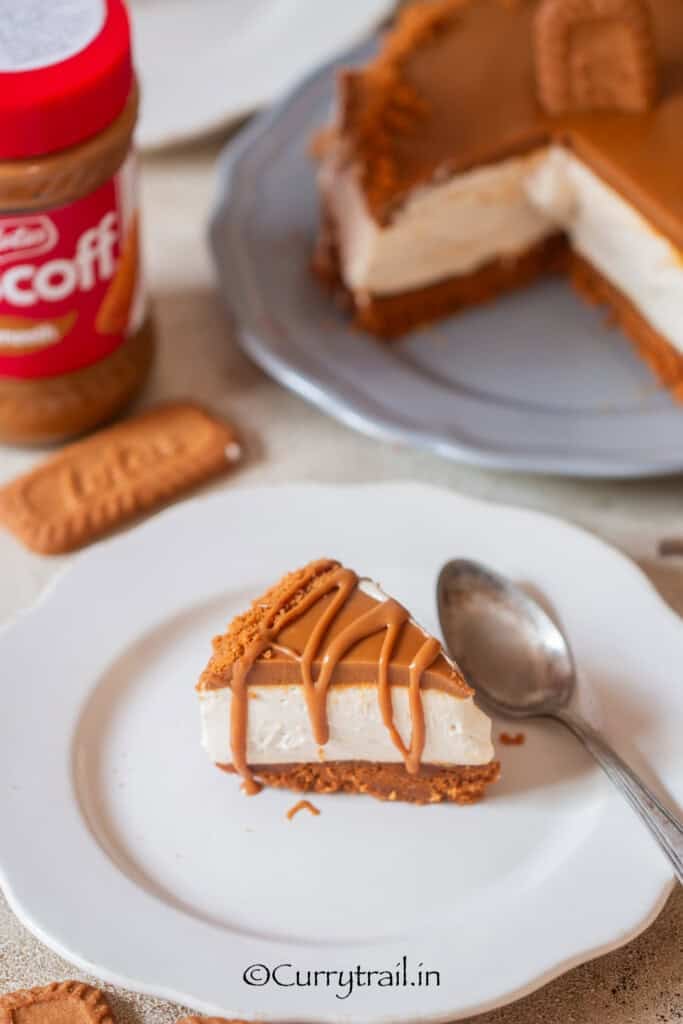
Step 12: Spread or drizzle it over the top of the cheesecake. Finish with crushed Biscoff biscuits or a few whole biscuits.
Slice and serve chilled.
Tips for the Best No-Bake Biscoff Cheesecake
- Use full-fat cream cheese. Full-fat cream cheese gives the cheesecake a richer texture and helps the filling set properly. Avoid using very soft or low-fat cream cheese if possible.
- Let the cream cheese soften. Take the cream cheese out of the refrigerator before you start. Softened cream cheese mixes much more easily and helps prevent lumps.
- Keep the whipping cream cold. Cold heavy cream whips better and gives you a lighter, more stable filling.
- Don’t skip the chilling time. This is probably the most important part of a no-bake cheesecake. Give it at least 6 hours to set. Overnight is even better.
- Pack the biscuit base firmly. Press the Biscoff crumbs firmly into the pan. A loose crust can fall apart when you try to remove or slice the cheesecake.
- Don’t overheat the Biscoff spread. If you’re warming Biscoff spread for the topping, heat it gently. You only need to loosen it enough to spread easily.
Storage
Keep the cheesecake covered and refrigerated.
It should stay fresh for around 3 to 4 days when properly refrigerated.
If you’re making it for a special occasion, I recommend preparing it the day before. The extra time in the refrigerator helps the cheesecake set nicely and makes serving much easier.
Freeze: For the best results, freeze the cheesecake without fresh toppings. Wrap it well and place it in an airtight container or freezer-safe bag.
When you’re ready to serve it, thaw it slowly in the refrigerator.
Frequently Asked Questions
The cheesecake may not have been chilled long enough, or the whipped cream may not have been whipped enough. Make sure you chill the cheesecake for at least 6 hours and use properly whipped heavy cream.
Yes, you can use crunchy Biscoff spread if you enjoy a little texture. Smooth Biscoff spread will give you a more uniform and creamy filling.
Yes. This is actually a great make-ahead dessert. Prepare it the day before and keep it refrigerated until you’re ready to serve.
You can, but Biscoff biscuits give the cheesecake its characteristic caramelized flavor. If you use another biscuit, the overall flavor will be slightly different.
No. This version doesn’t use gelatin. The cream cheese, whipped cream, Biscoff spread, and proper chilling help create the structure of the cheesecake.
Don’t forget to Subscribe to CurryTrail Recipes below to get our newest recipes delivered straight to your inbox.
If you love this recipe, keep in touch, and don’t miss out on any of Currytrail’s recipes. Follow me on Pinterest, Facebook, and Instagram.
📋No-Bake Biscoff Cheesecake Recipe
Ingredients
For the base
- 7 oz Biscoff biscuits
- 3 oz (80 grams) melted butter
For the filling
- 14 oz (400 g) full-fat cream cheese softened
- 7 oz (200 g) Biscoff spread
- 1 ¼ cups (200 ml) heavy whipping cream chilled
- 1 teaspoon vanilla extract
- 1 tablespoon lemon juice
For the topping
- 5 oz (100 g) Biscoff spread
- 2 tablespoons Biscoff biscuits crumb
Instructions
- Crush the Biscoff biscuits into fine crumbs.
- Mix with melted butter and press firmly into an 8-inch springform pan.
- Chill the base while preparing the filling.
- Beat softened cream cheese until smooth.
- Add Biscoff spread, vanilla, and lemon juice. Mix until creamy.
- Whip the chilled heavy cream until stiff peaks form.
- Gently fold the whipped cream into the Biscoff mixture.
- Spread the filling over the chilled biscuit base.
- Refrigerate for at least 6 hours, preferably overnight.
- Warm the remaining Biscoff spread gently and spread it over the cheesecake.
- Decorate with crushed Biscoff biscuits.
- Slice and serve chilled.
Notes
- Use full-fat cream cheese. Full-fat cream cheese gives the cheesecake a richer texture and helps the filling set properly. Avoid using very soft or low-fat cream cheese if possible.
- Let the cream cheese soften. Take the cream cheese out of the refrigerator before you start. Softened cream cheese mixes much more easily and helps prevent lumps.
- Keep the whipping cream cold. Cold heavy cream whips better and gives you a lighter, more stable filling.
- Don’t skip the chilling time. This is probably the most important part of a no-bake cheesecake. Give it at least 6 hours to set. Overnight is even better.
- Pack the biscuit base firmly. Press the Biscoff crumbs firmly into the pan. A loose crust can fall apart when you try to remove or slice the cheesecake.
- Don’t overheat the Biscoff spread. If you’re warming Biscoff spread for the topping, heat it gently. You only need to loosen it enough to spread easily.
Nutrition
Created by Jyothi Rajesh
Thank you for stopping by.
Jyothi Rajesh is the founder of the food blog, Curry Trail. She lives in Bangalore, India and is the mom of two beautiful kids. Her passion is creating and sharing delicious and easy recipes for the home cook. She’s been blogging since 2007 and many of her recipes have appeared in both online and print publications over the years. Learn more about Jyothi Rajesh.










Leave A Reply!